Pages

Wednesday, June 3, 2015

Product Review - Polaroid ZIP PhotoPrinter

Hidey-Ho!

I hope you've been enjoying my blogger series on planners.  In today's post I'm going to rave about the Polaroid ZIP PhotoPrinter.

I purchased the ZIP Printer for $129.99 and a 50-sheet paper pack for $24.99 on Amazon.  It is cheaper than the latest models of the LG POGO and Polaroid POGO printers, and the ratings are higher.  The paper runs about an average $0.49 per sheet.  More expensive than the Cannon Selphy but the Polaroid ZIP is INKLESS!  Yay!

You just pop the paper in and print.  Easy.

Inside the box I found 10 sheets of paper, the printer, instruction manual, and USB charger.
The paper is 2" x 3", perfect for a personal size planner.   The printer is about as big as a cell phone.

It also gives you instructions to install the Polaroid ZIP app in the Apple or Android app stores.
Here is a screen shot of the Android App's user interface.  Under the Edit Print option you can add frames and stickers to you photo.  Under Secret View you can add QR code to your images.  And under Name Card you can print little business cards on the fly.


And here is how I have been using my little photos.  I journaled about how my daughter wanted to pretend to be a puppy and play fetch with the stick from the ribbon section of my craft caddy.

These I took on Memorial Day from our relaxing morning together and from the park.

I am looking forward to snapping more photos!

Thank you for reading!
Love,
Myria

Sunday, May 31, 2015

DIY Daily Planner Pages

Hello dear readers,

If you've been keeping up with my blog you know that I am all about planners right now.  It is my latest obsession and I'm loving it!

I got my new planner all set up the way I want it, and I have been good about using it daily.  One of the reasons why I wanted to get a planner is to stay organized and art journal at the same time.
The planner that I selected, Websters Pages Color Crush, didn't come with any daily pages in their 2015 kit so I found some on Pinterest to use.  Check out my Journal board for some cool free downloads!

I really wanted to use this daily page but my print head on my Kodak ESP 5250 printer went bad so I can't print anything with cyan right now.  Grrr!  I found this page at the Scattered Squirrel and she has every type of free printable planner page that you can think of!  Full size and half size monthly, weekly, and daily.  Boom!

Until I can get a new printhead for my printer I'm using this one that I found at Nest Vintage Modern
I love the "Today I will dominate" title.  Very cute and empowering.
As I mentioned I can't print anything blue so I just printed these in gray.

I wrote in a previous post that I have many fancy papers.  I found most of them at Tuesday Morning for prices so cheap they'll make you cry with joy!  (sorry about the dark photos - it was a cloudy day)

The ones I will be using for my daily pages are scrapbooking paper.  They are thicker than regular paper but thinner than card stock. 
For the months of May and June I decided to use the Songbird pack.

Here's the finished product.  
Printed on the white side with the fancy part of the page on the back.

I used washi tape to secure the holes, to prevent pages being torn out by accident.


Pretty :-)

They had a sheet of embellishments to cut out and use in your projects.  I put them in my plastic pocket.

Here is an example of what I've been doing with my daily pages.
On the left page you can see a photo that I pasted on, to show what I had written about on the front side of that page.  On the right side is the next journal entry and I pasted some embellishments on the other side of it to give a visual of that day...and so on.

Stay tuned for my next post - Polaroid ZIP PhotoPrinter.  Like the LG and Polaroid Pogo and Instax photo printers, but see why I like it more.

Thank you for reading!
Love,
Myria

Thursday, May 28, 2015

I'm Officially a #PlannerAddict

Howdy all!

In my previous post So I Bought A Planner I announced that I decided to buy a planner, and join the millions of women who are addicted to their planners.

Before I committed to a planner, I researched and researched and I finally selected the Websters Pages Color Crush.  The reason is that it comes with the most beautiful paper and dividers, and it was the least expensive.  No brainer!

On http://www.scrapbook.com the kit is priced at $34.99 however, I purchased mine from http://www.Amazon.com for $23.47.  The only one available was the orange one but I'm ok with that.  I look good in orange >.<

If you click here you can see the Websters Pages ad for the Color Crush planners.  But one thing I noticed is that there really weren't any good photos online of the contents of the Color Crush planners so I decided to share them with you here on my blog.

When you open the planner you see that the snap strap is longer to accommodate more stuff inside.  Plus there are pockets for your stickies, paperclips, stickers, etc.  In addition to that it comes with 3 clear plastic dashboards - very cool!

The 1st divider is labelled Write it Down and the pages in that section contain:  Thoughts, Ideas, and Dreams, plus a lot of space for writing.  Great for journaling or planning.

The second section is labeled Memory Keeping.  The pages in there say A Day In the Life, where you can write a brief description of what you did each day in that month.  

On the back of each of these pages there is a spot where you can paste a photo and you can write down what people said, or various things that happened that you want to remember.  

The next section is labeled Lists to Love and in there you can create monthly To Do lists and Menu plan.  I'm really looking forward to menu planning!  Now that I'm a stay at home mom I want to plan our dinners.  I think it will help motivate me to actually cook every day or every other day.

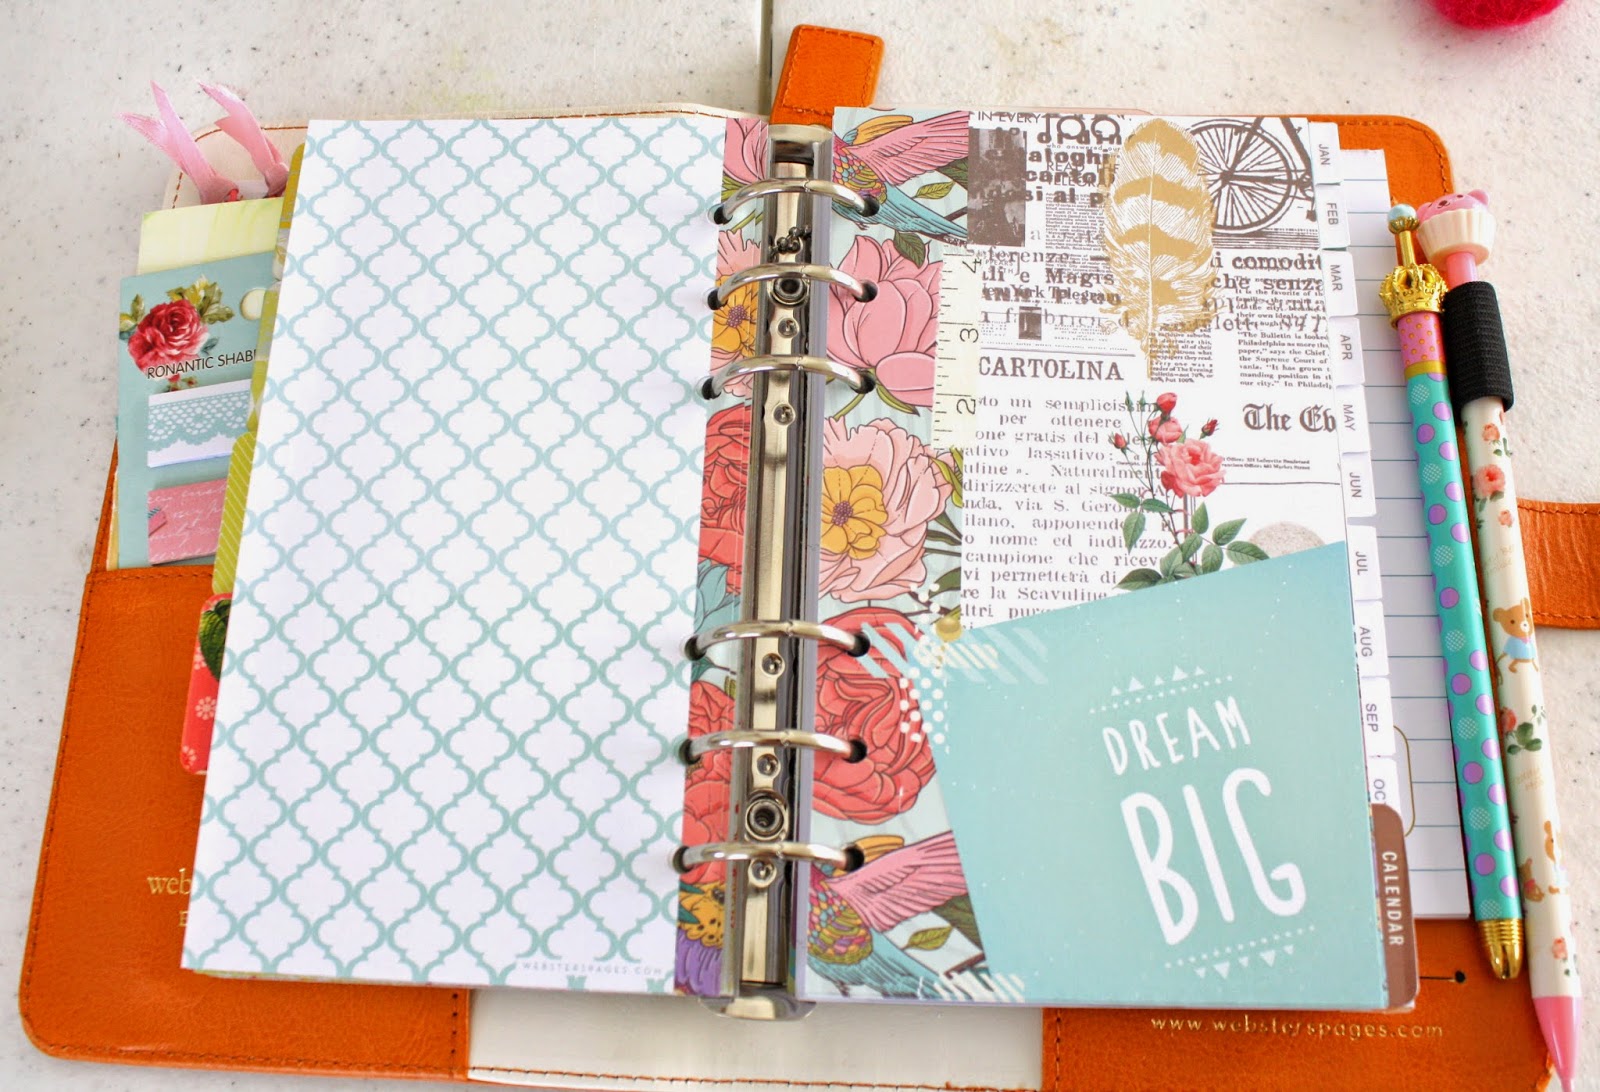
The next section is labeled Staying Inspired, and within that section they have placed GORGEOUS papers for you to use in your planning/journaling.  Plus if you have fancy paper, like I do, you can add in more pages here.

They are beautiful and inspiring

Am I right?

Love them

This is the divider for the calendar section - so pretty!  They all are really...

First you have your monthly calendars

Your "At A Glance" if you will...

And on the back page of each month they have a page titled "This & That, little notes and daily memories for a well planned life"  
So, that Recycle divider I added in myself and labeled it Weekly for my weekly planning because they didn't have a divider for that, which I thought was weird...but what-eves.

Then you have your weekly planner pages, which come with a top-tabbed divider so you can flip right to the current week when you open your planner.  It is labeled Right Now with gold lettering and gold polkadots. Cute!

I added this last divider in from a sympathy card that I thought was so pretty.
We end in joy.

Finally, at the back of the planner you will find a plastic pocket for added storage, a note pad, and another pocket!  Yes, another one.  Love it!

This planner comes with so many cute details, including this charm/keychain that says "laugh everyday".  I think each color of planner comes with a different message on these little keychains.

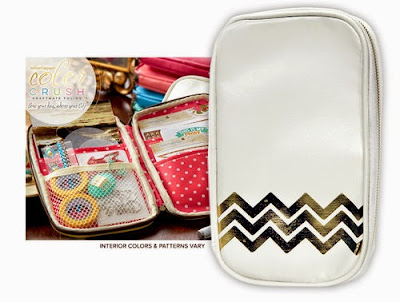
In addition to planners, Websters Pages sells the coordinating CraftMate Folio so you can take various art supplies with you to decorate your planner on the go.  These sell for $14.95 on http://www.scrapbook.com

I'm kinda broke right now so I decided to use this makeup bag that opens like a book instead.  
I'm so glad I had it!  I got it a Big Lots years ago in a makeup bag travel set.

I think it will be perfect

Not too shabby!

In my next post I will blog about DIY daily pages.
Thank you for reading!
Love,
Myria

Tuesday, May 26, 2015

So I Bought a Planner

Hello readers,

After much thought, and attempts to use the SNote on my Samsung Note 4 to journal/scrapbook, I've decided to go to paper.  My decision was primarily based on permanence of my art journal - with the SNote I could loose my journal if I didn't have it backed up properly.  Also, I have a TON of washi tape, fancy paper, embellishments, and stickies so it just made sense.

In anticipation of my planner's arrival, I got my little planner station ready.  I purchased this cute little craft caddy used for $7.  It is really practical!  I have all of my kawaii sticky notes in there, stamp pads, and my pink paper stitcher.

I purchased most of my washi tape, cute sticky notes, and this cute little stamp set from http://www.yozocraft.com

My bear basket is holding more items for me.

The back side of the craft caddy has a spot for fancy tape or ribbons

And I keep my 6-hole punch in the little drawer

In my next post I will reveal the planner that I selected.

Thank you for reading!
Love,
Myria

Friday, April 10, 2015

Vintage Korean Doll Re-Work, Art, and My Mom's Craft Room

Hello Cutie-pants,

During my visit to my mom in Arkansas, my mom and I tasked ourselves with finding goods for my booth at Antiques and Things.  We found many many many good things to keep and to sell.  I'll be sharing them on my Instagram page so be sure to follow that.

One of the things that we found was this vintage Korean doll, called a Bradley Doll.  I was super excited to buy it for $5.


My aunt had some of these in her doll collection so I've always liked them.  What I like in particular is their starry eyes!  Sooooo cool.


As a result I am particularly fond of art with starry eyed females in it.  I've added a bunch to my Pinterest board Fabulous Art so swing on over there to check some out.  Here is one example by Kat Kalindi Cameron

Getting back to the doll...she was so cheap because she was a mess!  I tried to clean her up but there were deep stains and sun damage.  My mom and I decided to just make her a new dress.

Here is another Bradley Doll that we picked, up whose eyes needed to be re-done.  
This photo was taken after my mom and I drew in her eyes and took apart the first doll's dress and hat.
I still need to go in with some white paint to add the stars to the doll on the right.  We also messed up and got some ink on her forehead, to the left of her eyebrow, so I'm going to try to get it out.  We may have ruined this doll...whoops!  Oh well - crafting isn't always perfect.

I surprised my mom in her little sewing room while she was sewing the new dress.

 Posing for the camera - my mom is 67!  She looks so good for her age.

While I'm in here I might as well show one of the cute little pieces of furniture that she found second hand.  It is a bit shabby but it is definitely chic!

 Inside is storage for thread and other notions.  Cute!

 Working away...

 Patiently waiting...

 We were going to sew her an entirely new dress but my mom remembered that she had one for a 16" doll, so she just altered it to fit our Bradley Doll.

 Unfortunately, she accidentally sewed it crooked.  As a result, she had to un-sew and then re-sew by hand.  
Here she is holding it center so she can begin stitching.

 Meanwhile I added a tulle petticoat

When the dress was done she looked great!  I like it because she looks more proper - less like an 1800s bar-maid.  I made the hat.

 I added lime green feathers, ribbon, and rose to it for drama.

What do you think?  Love it?  Hate it?
Actually, don't tell me if you hate it.  "If you can't say anything nice..."

 What's important is I like it.

The glue gun is my friend <3

Thanks for reading!
Love,
Myria