Pages

Wednesday, December 24, 2014

Merry Christmas!

Hello all,

It is Christmas Eve, and also the last night of Chanukkah.  I am with my partner  Adam and our daughter at Adam's parents' house.  We are spending the night up here so we can all wake up together to watch Azalea open presents. 

I just wanted to take a moment to say that I hope all of you get to spend time with your loved ones, and/or do exactly what your little hearts desire.  ♡

Love,
Myria

Tuesday, December 16, 2014

DIY: Work Pad/Table Protector

Hello Cutie-faces,

On Saturday night I was going to sit down and work on some Christmas presents but I realized that I didn't have a table protector to protect our newly refinished dining room table. 

I really want one of these Ranger Craft Mats but it was already late at night and I needed to get busy, so I decided to make a couple of cute work mats that could double as photo backdrops for my pictures.

This is the final product.

To make your own you will need cardboard, aluminum foil (optional), pretty paper, and plastic wrap

I selected these two pieces of paper for my 11" x 11" pad

And these 3 pieces for my 11" x 14" pad

My pieces of cardboard were already wrapped in foil, which I thought would be good when using my heat tool, however I'm not sure how the plastic wrap will hold up...we'll see.  

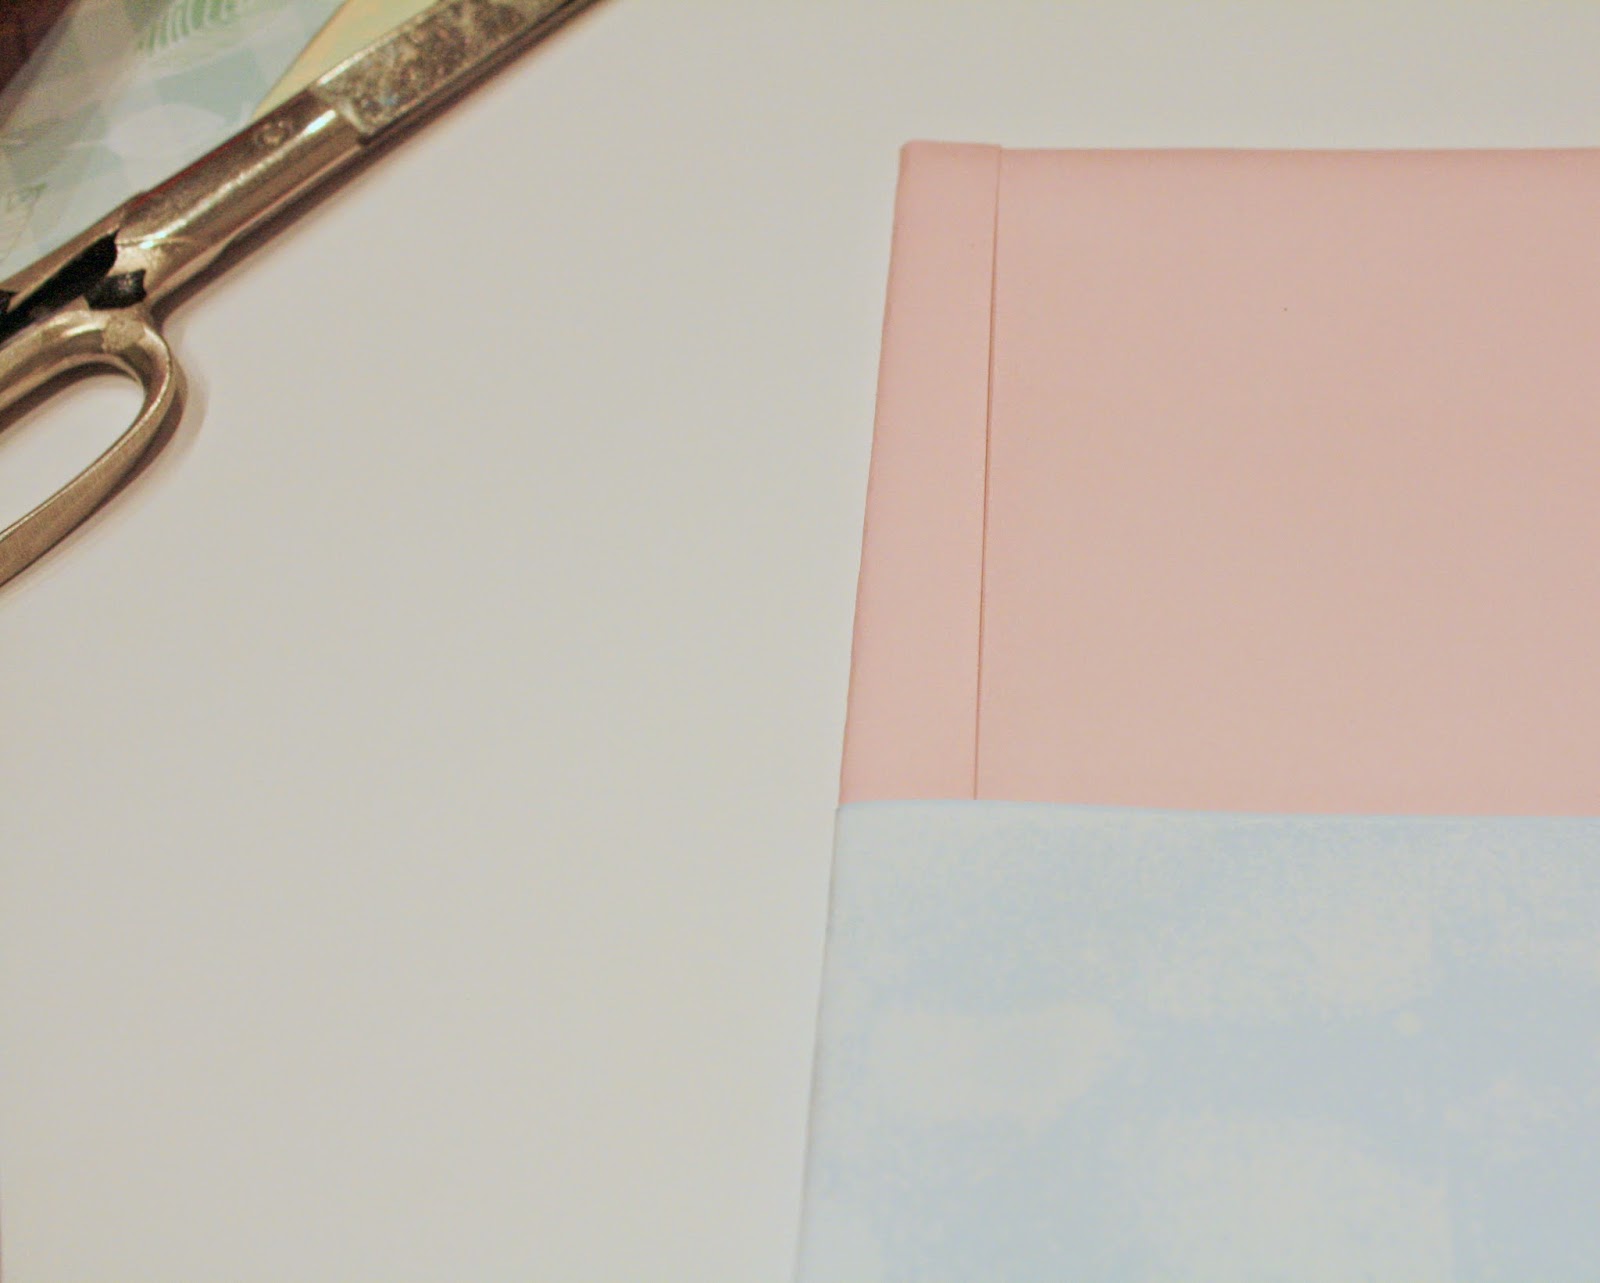
I decided how I wanted the pretty paper to be laid out and commenced wrapping.

I used the Scotch Advanced Tape Glider to adhere the foil and paper to my cardboard.

I wrapped the paper around the edges of the cardboard

I love this adhesive roller because you can roll the tape right along the edge of the paper, then wrap the paper around the cardboard, and it will stick wonderfully!

One side is complete
 Then I realized that I messed up a little here...I should have the seam for both pieces of paper on the same side...oh well!  This is all just an experiment.

To complete the 2nd side I trimmed the 3rd piece of paper to the width of the cardboard so that I wouldn't have to wrap any of that paper around the edges.  Trimming the paper to fit on this side will give this mat a clean finish on both sides.

Add adhesive in strips to ensure that the paper sticks, but don't go crazy.  This stuff isn't cheap and a little goes a long way.

Now it is ready to be wrapped in plastic.  I used the plastic rolls that you can buy at Micheal's in the food crafting department.  I opted to wrap these in plastic so I could wipe ink and glue off of them, and hopefully they would stay cleaner longer.

Ta da!

I just folded the plastic wrap around the edges and adhered using my Scotch roller.  I kept the trim short, approximately 1/4", so as to keep a somewhat clean looking finish.

And here is my 2nd pad.  Cute!

If you decide to make your own keep in mind that these are not cutting mats.  I made these with jewelry making and stamping in mind.

Hope you found this interesting!
Love,
Myria

Friday, December 12, 2014

Android Theme of the Week: Rudolph Cookies

Ho Ho Ho,
This is just a quick post to share my phone theme of the week.
Rudolph Cookies


Cute!  I love Christmas cookies.
Merry Christmas and Happy Chanukkah!
Love,
Myria

Thursday, December 11, 2014

Favorite Materials: Vintaj Patina

Hi My Beauties,

Awhile back I decided to follow the advice of a local Trader Joe's cashier, and put brand name tags on my jewelry.  I purchased some Beloved Bijou label charms from The Charm Factory.  I chose some cute little heart charms with a nice script engraving.  The biggest downside is that they only came in silver and gold color, and I use quite a bit of antiqued brass. 

Silver

Gold

Cute!

As a result, I have recently been experimenting with ways to make my label charms match my antiqued brass pieces. 

In my first attempt to change the color of my charms I used some Ranger Alcohol Ink.  I do love this ink because it sticks to EVERYTHING and dries very fast.  It is great for giving pieces of plastic and metal color.

The effect was a bit blotchy but at least I could still read the engraving.  Also the Denim color gave the charms a more gunmetal hue so it did work, but not exactly the color I was looking for.


Next I decided to go out on a limb and buy 9 colors of the Vintaj Patina from Amazon.  
I just couldn't resist them!
I could foresee myself using the purple (amethyst), pink (quartz), and turquoise (marine) for my kawaii jewelry.  Plus the verdigris, clay, moss, jade, rust, and cinnabar matches with all my vintagey pieces.
 
I chose the clay first because I thought that it looked most like the antiqued brass color.

I used a sponge brush to blot the color onto the charm.

In the instructions it says to use a heat tool to help the patina set.

I did that but I realized that the wax paper was going to melt onto my table...

So I put the charm on a piece of cardboard and that solved that problem.  
NOTE:  The charm will be HOT.  Be careful! 

When I was done the patina was so thick that I couldn't read the engraving so I got out my nail buffers to try to buff it down a bit.  These have a very fine grit, and can be purchased from Mary Kay or Sally Beauty Supply

This is what the charm looked like after it was buffed.  Not bad...but still not exactly what I was looking for.  
Too much of the gold was showing which makes it look like polished brass...not antiqued.

Next I decided to try the moss color to match one of my antiqued brass, green ribbon, green charm, and laboradorite necklaces.

 I dropped 1 drop of the patina onto the front of the charm and blotted with a sponge brush.  Again, the result wasn't quite what I was looking for...

 So I decided to add some verdigris on top of the moss.

This was the end result after a bit of buffing.  I did use it for my necklace because the green coordinated quite well, although the engraving was only somewhat legible.

Next I tried the amethyst to coordinate with an antiqued brass and purple necklace.

This time I put 1 drop of patina on the back of the charm and blotted, then treated with the heat tool.
This is what it looked like when it was done.  Pretty!

When it was dry and cool to the touch I flipped it over and used the patina that was remaining on the sponge to blot the edges of the front of the charm.  I used the head of a pin to keep the charm still while I blotted.

This turned out quite well!  The charm was a cool distressed purple and the engraving was still legible.  Score!

 Last I took the charms that I had blotted with the denim Ranger alcohol ink and followed the same steps as I did with the amethyst patina:
1.  Put 1 drop of patina on the back side of the charm
2.  Blot with a sponge brush
3.  Transfer to cardboard and treat with a heat tool
4.  Let cool
5. Flip over and blot the edges of the front of the charm with the remaining patina on the sponge brush
5.  Treat with heat tool and let cool

This was the end result.  I actually really like it!  It ended up looking like rusty steel <3

And the engraving was still legible too!

All in all I look forward to using the Vintaj Patina on more of my metal pieces.  I can't wait to use it to add dimension and color to otherwise meh components.

Have a great day!
Love,
Myria

Tuesday, December 9, 2014

Giveaway!

Hi Preciousnesses,

I am so excited to announce that I am working with Angie from My So Called Chaos to give one lucky reader a Beloved Bijou necklace of their choice, valued at $50 or less.
http://www.mysocalledchaos.com/2014/12/win-necklace-from-beloved-bijou.html

Click the photo to get entered!  You've got to play to win ;-)
Cheers! <3
Myria

Sunday, December 7, 2014

DIY: Cedar Sachet

Hello Little Dears,

Today I want to share with you my latest upcycle project.   It is a simple, yet useful project and can help in storing and preserving your wool sweaters and scarves.  It is a do-it-yourself cedar sachet.

You will need cotton and pure cedar oil, and also something to put the cotton in.  Today I used an old mothball hanger.

image

This is the cedar oil that I'm using.   As you can see I paid less than $6 for the bottle and a little goes a long way.  It smells amazing!   Very strong!

image

Here is my mothball hanger.

image

You will open it up (it just snaps open) and remove any remnants of the old mothball disk.  In my case all that was left is the plastic wrap that was around it.

image

The next item is your cotton.  I used some old cotton that was inside of a vintage jewelry roll that broke down when I washed it. 

You can also use cotton balls.  If you do use cotton balls you will need to open them up and mash them together to make a large ball.

image

Next, you will take your oil and blot the cotton with it.  You will need anywhere between 15-20 drops of oil depending on the size of your cotton. 

Do NOT completely saturate the cotton with the oil.  If you do then the oil could leak out onto your clothes, and then you will be trying to get oil stains out of them.  Not good!

image

Once you have blotted the cotton with the oil you will form it so that the oil is inside of the cotton, with dry cotton on the outside.  Shape it and put it into the hanger.

image

Then snap it shut.  Done!

image

I am also going to make some more using cute organza bags.  I even found some adorable moth card stock so I can make "Cedar Sachet" tags for the bags.  

You can also use different light weight fabrics to make your own bags.  For example:  cotton, cheese cloth, muslin, or tulle.  I would avoid satin,) because if the oil leaks onto the fabric the stains would be a lot more visible. 

image

I hope you found this tutorial useful!   Rest easy...your wool is safe!

Love,
Myria