
On Saturday night I was going to sit down and work on some Christmas presents but I realized that I didn't have a table protector to protect our newly refinished dining room table.
I really want one of these Ranger Craft Mats but it was already late at night and I needed to get busy, so I decided to make a couple of cute work mats that could double as photo backdrops for my pictures.
This is the final product.

To make your own you will need cardboard, aluminum foil (optional), pretty paper, and plastic wrap

I selected these two pieces of paper for my 11" x 11" pad

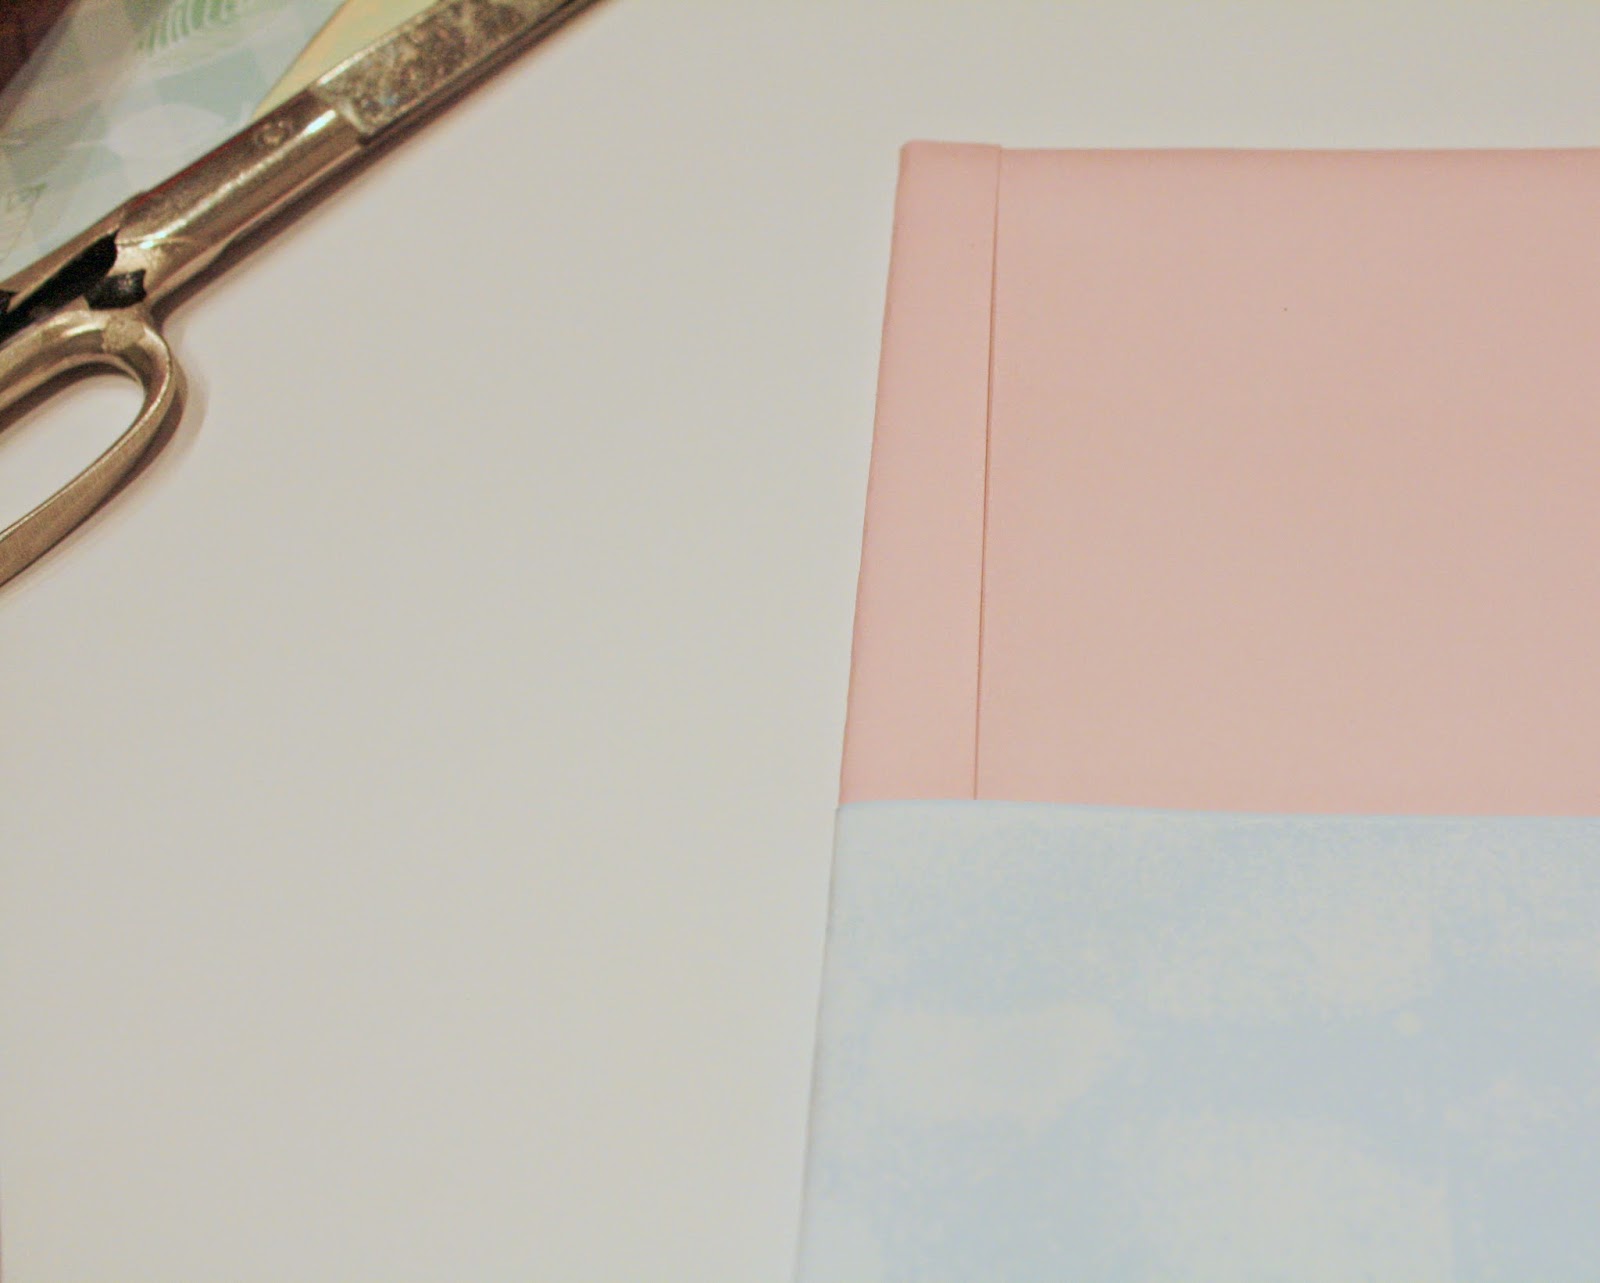
And these 3 pieces for my 11" x 14" pad

My pieces of cardboard were already wrapped in foil, which I thought would be good when using my heat tool, however I'm not sure how the plastic wrap will hold up...we'll see.
I decided how I wanted the pretty paper to be laid out and commenced wrapping.

I used the Scotch Advanced Tape Glider to adhere the foil and paper to my cardboard.

I wrapped the paper around the edges of the cardboard

I love this adhesive roller because you can roll the tape right along the edge of the paper, then wrap the paper around the cardboard, and it will stick wonderfully!

One side is complete

Then I realized that I messed up a little here...I should have the seam for both pieces of paper on the same side...oh well! This is all just an experiment.
To complete the 2nd side I trimmed the 3rd piece of paper to the width of the cardboard so that I wouldn't have to wrap any of that paper around the edges. Trimming the paper to fit on this side will give this mat a clean finish on both sides.
Add adhesive in strips to ensure that the paper sticks, but don't go crazy. This stuff isn't cheap and a little goes a long way.

Now it is ready to be wrapped in plastic. I used the plastic rolls that you can buy at Micheal's in the food crafting department. I opted to wrap these in plastic so I could wipe ink and glue off of them, and hopefully they would stay cleaner longer.

Ta da!

I just folded the plastic wrap around the edges and adhered using my Scotch roller. I kept the trim short, approximately 1/4", so as to keep a somewhat clean looking finish.

And here is my 2nd pad. Cute!

If you decide to make your own keep in mind that these are not cutting mats. I made these with jewelry making and stamping in mind.
Hope you found this interesting!
Love,
Myria
No comments:
Post a Comment