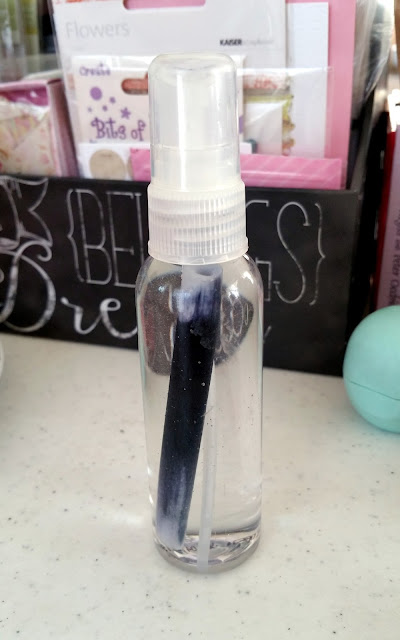
Today I'd like to share my experience with making my own Alcohol Inks. I've used the Ranger Alcohol Inks in the past and I really like them a lot! They're permanent and they dry really fast, so they're great for adding color to shiny plastics and metals.
Search my blog's materials category to see how I used them to change the color of some metal charms.
Anyhoo, I got the idea to make my own Alcohol Inks from Alisa Burke - an artist and blogger that I just adore! <3 She wrote a post titled "Kids Markers - Tips and Tricks for Adults". In the article she says that you can make watercolors and alcohol inks out of dried out Crayola Markers! OMG that's right up my alley - and to think I've been throwing them away when my daughter leaves the cap off. Doh!
So, to make your own you will need a dried out marker, rubbing alcohol, and a container to put the ink in. Today I'm going to use an empty spray bottle, so I can spritz the ink out if I want.
For starters I peeled the label off my bottle.
Then I got some pliers to pull the end cap off of the marker.
I put the ink tube into my bottle.
And added the rubbing alcohol.
Nothing much happened right away so I got the idea to pull the marker tip off too!
After I added that in, the ink REALLY started to bleed out into the alcohol.
After a few moments it looked like this! Awesome! Keep in mind that Alisa says to leave them soaking overnight for the best results.
I was so pleased with the black ink that I decided to proceed with some hot pink.
I actually had to break the end cap off of the marker in order to get the ink tube out. I then used needle nose pliers to pluck out the remaining pieces of plastic and pull out the tube.
I put in the tube and marker tip and added in the rubbing alcohol. I only filled it about half way because the tube was shorter than the 1st one.
I had ink on my fingers from touching the black marker's tip and some of it bled onto the pink marker tip so, be sure to wash your hands in-between markers!
Here is what they looked like after a few minutes.
As I said, let soak overnight for the best results.
Hope you liked this post! Stay tuned because on Saturday, July 11th I'll be hosting a Mad Tea Party and Needle Felting Party. I will be sharing the photos of my event and I can't wait to see what you think!
Here is the event invite:
And here is a photo of our craft project:
Thank you for reading!
Love,
Myria


No comments:
Post a Comment