Pages

Friday, February 17, 2017

FREE Pocket Planner with purchase! at Studio Calico

**This is an affiliate email

This came through my inbox this morning and it is such a great deal I just had to share it!  If I didn't already have my 2017 Pocket Planner I'd be ALL over this <3

From now through 2/19.


Enjoy!!!
<3 Myria

Wednesday, January 18, 2017

Mi Vida Loca

Hello My Lovelies,

I'm sorry I haven't been posting much lately!  My life has taken an unexpected yet pleasant turn.  I've been able to spend more time in the village where my mom is from Colonias, New Mexico.  I've been spending a few days each week out there, one day each week volunteering at a thrift shop called Passion For Fashion, and one day working at Antiques and Things.  I spend the weekends with my little girl.

In addition, I posted awhile back about how my new house was really lacking in the art studio department, which unfortunately hasn't been very inspiring.  I have made some improvements to my craft studio's organization, and I've made a few things here and there, kept my planner looking fabulous and fun, but otherwise....meh.  I do post some of the things that I've been doing on Instagram and Tumblr so, for quick updates, please keep track of me there.

Because I want to spend at the ranch, but I also need to make money, I decided to take a job working for some dear friends in the awesome town of Las Vegas, New Mexico.  (Here's another cool link about Las Vegas)  I will post another article that shows why I love this town so much.  Basically all of the buildings and homes are historic because "back in the day" they couldn't afford to tear them down.  What an amazing twist of fate!  The town's poverty has preserved its Wild West history - and I love that!

Anyway, back to The Llano.  I'd like to share a few photos of Colonias, New Mexico and surrounding areas.  I have always loved this part of New Mexico.  As a child I never wanted to leave and I always planned on retiring there.  When you're driving out it looks pretty bland and boring, but when you drive off to the North, the roads take you down in canyons, or up onto mesas.

I love thistles, and though they are a nuisance, I remind myself each time that they are edible!

We call this hill La Questa because it used to be treacherous when it was dirt, and it still can be when it snows

These next set of photos were taken on July 4th, 2009, before and after a huge rain storm that we had.  Water is so precious!


Curiosities everywhere...

Oddities everywhere too...


Waste not - want not


Fun stuff <3  Stay tuned for my next post about Las Vegas, NM.
Love,
Myria


Tuesday, November 1, 2016

Holiday Gift Tutorials and Supplies From Fire Mountain Gems

Hello My Beauties!

*This email includes affiliate links

I have recently been presented with some adorable and easy holiday gift tutorials, as well as some excellent jewelry supplies to make your own gift creations.  Check them out!

Holiday Projects 
Click through for step-by-step tutorials on how to make each of the projects listed below! 

Tutorial: Christmas Tree Earrings with Swarovski Crystal Beads 

Tutorial: Christmas Tree Earrings with Swarovski Crystal and Antiqued Brass Cones 

Tutorial: Sterling Silver and Swarovski Dreidel Earrings 
Tutorial: Steel Snowflake Ornament 
Tutorial: Gift Box with Swarovski Crystal and Pewter Charm 
Shop Holiday Charms and Components 


Thanks for reading!
<3 Myria

Wednesday, October 19, 2016

Celebrate Halloween with Fire Mountain Gems

To use this content on your site, simply copy and paste. Your unique affiliate tracking links are already embedded. If you need assistance, or the raw HTML code, please let us know!
 
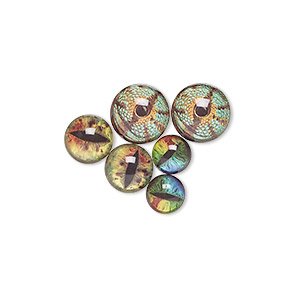
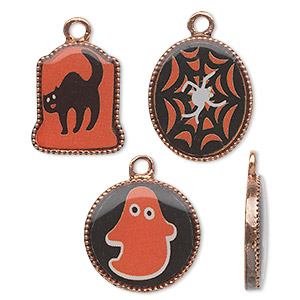
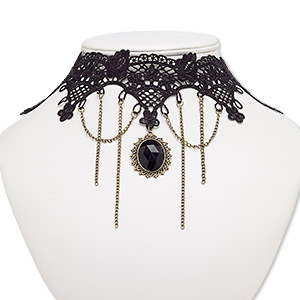
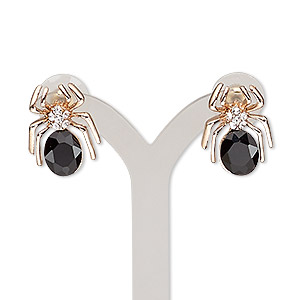
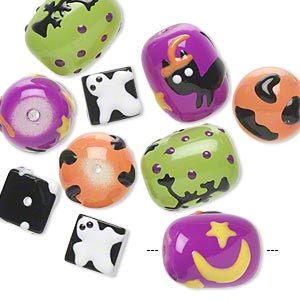
Halloween is fast approaching, and Fire Mountain Gems has a wonderful selection of fun and frightening items to celebrate the event! Resin dragon eyes, gemstone skulls, crystal spiders, we have everything you need to add a creative, personalized touch to your costume. You could also create Halloween-themed jewelry, or even buy several charms to hand out in lieu of candy. Please note that some of the items listed below may contain affiliate links. 

Thursday, September 29, 2016

Sweet Cupcake Cards

Hello My Sweets!

In my last post I went through my favorite items in the latest Stampin Up Catalog and one of my favorites was the Sweet Cupcake Bundle.

In this post I will show you how I made this lovely card:
I used some retired Stampin Up paper and cards that I had on hand, but you can use literally ANY coordinating paper set for this project.

I first started with my stamp and dies set.  You will also need a Big Shot Machine

I also decided to use these pretty (retired) Spellbinders Nestabilities Majestic Circles, but you can also use these Layering Circle Framelits Dies instead.


I've selected these 3 colors for the frosting part of the cupcake:  Summer Sun (#1), Archival Brilliance Pearlescent Orange (#2), and Watermelon Wonder (#3).  
The idea is to use the lightest color on the stamp that covers the most area 1st, medium goes 2nd, and darkest goes 3rd.

I've selected these 3 colors for the cup part of the cupcake:  Creamy Caramel (#1), Tip Top Taupe (#2), and Close To Cocoa (#3)

I will also be using my Misti Stamping Tool to help create perfect stamped images every time, and to help line up the stamps properly

Here's a shot of me using my Misti Stamping Tool with the 3rd whipped cream stamp.

And here's the finished whipped cream stamped image

Next I took my image over to my Big Shot Machine to cut the whipped cream out using the corresponding whipped cream die

After that I started stamping the cup part of the cupcake.  Here is what it looks like after the 1st, lightest ink is stamped

Here's a photo of the 2nd, medium colored ink

And here's what it looks like after the 3rd, darkest ink

I took it over to the Big Shot Machine to cut it out using the corresponding die

Then I decided to use the Sweet die and the banner die that is included in this set. 
 I cut out 2 banners and stamped the darker one with the sentiment "The Best Things In Life Are"

The banner die has little slits which I assumed are for the die cut words to be inserted in.  My Big Shot Machine machine didn't cut the slits so I took some scissors to the lighter colored banner that I had cut out.

Next I cut out 2 nesting circles, using different prints of coordinating paper.
Here's a photo of the smaller circle.

Here is what it looks like before I adhere everything.  
I ran out of the card stock that I used when making the initial card so I used this card stock instead...for a different look.

Then I decided to flip over the larger circle, because the print on the other side was really pretty...

I couldn't decide which one to use!!!!  
So I decided to put it up for a vote on Facebook

Here's a shot of the inside of the card.  
The sentiment says "The Best Things In Life Are Sweet, 
And You're One of the Sweetest.  Happy Birthday"

Here's a photo of the finished product.  "A" won!

Thanks for reading!!!  I'm really looking forward to getting another tripod so I can just film a YouTube video or Periscope (@belovedbijou) this sort of thing... :-/
<3 Myria